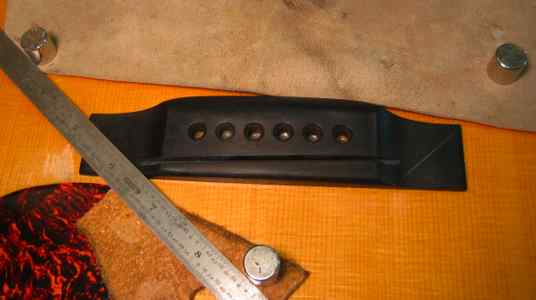
Typically on old style "through saddle" bridges, if somebody wants a
pickup I will recommend top transducers or a good soundhole pickup like
the Baggs M1. This customer really liked the sound of his friends Baggs
Element though, and wanted one in is D-28V. These newer Martin
through saddles can be a real bear to remove, but since I had to to a
bridge reglue anyway I new it would come out easy when I heated the
bridge.
I took a lot of pictures, so I'll try to be a concise as possible. Here is my
approach to an under the saddle tranducer for a through saddle.
First, Martin is no lonter using a true through saddle. The slot is actually
closed on the ends, with the end of the cut filled with an ebony filler to
give the appearance of the square end of a true through saddle.
True through saddle pickups get feather thin at the ends and can be hard
to keep looking clean. I assume Martin chose this method as a way to
keep the saddle ends clean and consistant.
What I will do is cut a tiered saddle slot, with a recess to accept the
pickup while leaving the base of the saddle still fitting closely to the slot
bottom at the ends. First I will clean up the slot, removing very little
material. You need a fairly good slot routing jig for this whole job.
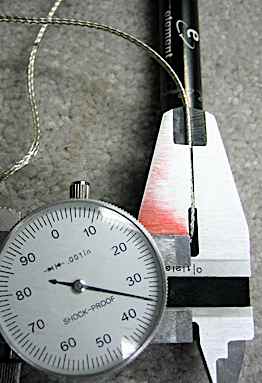
Next decide how deep the pickup recess has to be. The Element measures
out at about .035", and will compress down to around .033" with my
calipers.
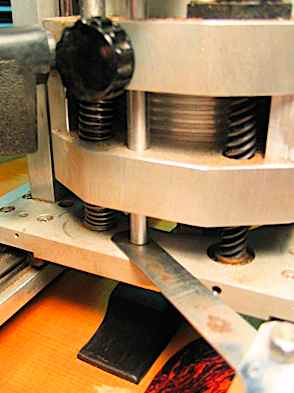
Still having my saddle routing tool setup undisturbed from the las cut, I
will set the depth stop for .032" deeper than the initial clean up cut.
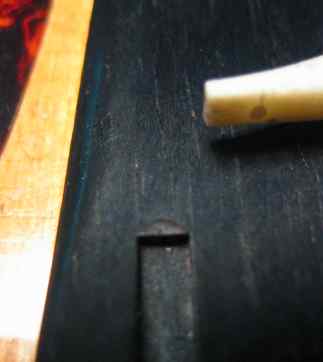
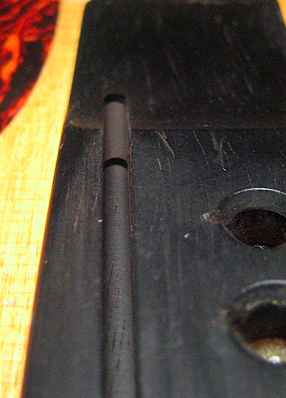
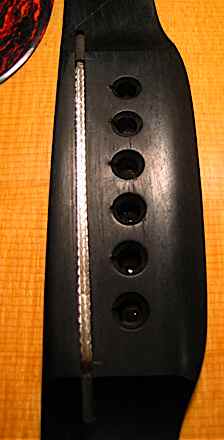
Here is the recess cut in. I routed it slightly longer than a standard
saddle.
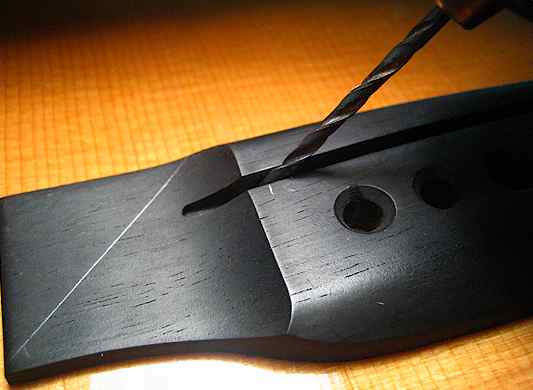
Now to drill the access hole in the bottom of the slot, I always like to see
where the braces are. A couple of magnets and a ruler make this easy.
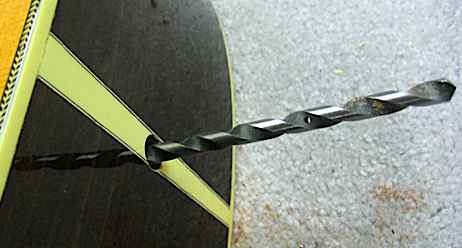
Coaxial, ribbon and film transducers don't like the 90 degree hole that
traditional piezo's use. I noticed when I got home that in my posing for
this shot I exagerated the angle, but you get the idea. Somewhere in the
range of 60-65 degrees above the slot should be sufficient.
Then I still like to go in with a micro chisel and soften the angle that it
will have to bend at as it leaves the slot.
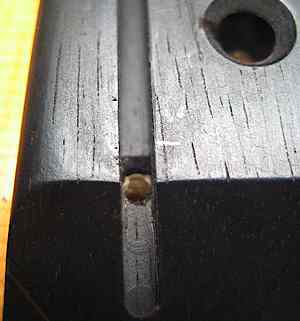
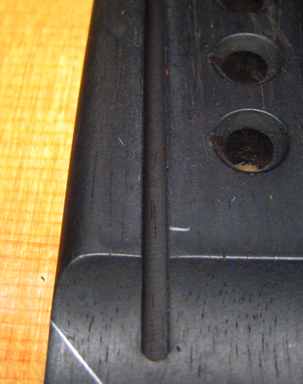
Here's how it will fit.
Then the cussing begins as I try to remove the end pin to ream out the
hole. DO NOT GLUE IN THE END PIN PEOPLE!
It is a taper fit pin and is designed to be removable.
NEVER GLUE IN THE END PIN!
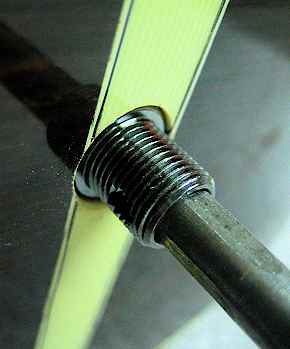
With the hole reamed I will make a quick note on how I like jacks
installed. Leave then not tight enough and they will come loose, and wires
will twist and break as the player tries to tighten it up by spinning the
end. Too tight and the finish will crack and lift - I've even seen end wedge
binding puckered out from the force. First get yourself an 18"-24" pice of
1/4" rod. I use my 18" 1/4" drill bit. This makes is simple and painless to
install and remove the jack as many times as necessary to get the
tightness right.
I like to set it so that when the nut is moderately tight it will bottom out
on the larger diameter of the jack. This way the washer doesn't flare
inward and crack the finish as I see so often. I can also then tighten the
nut more aggresively on the the jack to keep it from coming loose, still
without increasing the pressure against the body or finish. Start by
leaving the face of the large diameter of the jack set about 1/32" below
the surface of the finish. This will usually be pretty close, but keep pulling
it back out and adjusting the inner nut(s) until it feels right. I know I seem
picky about this, but improperly tightened jacks case problems that I see
very often.
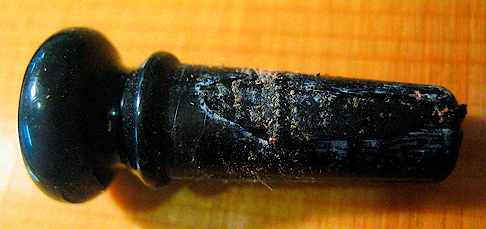
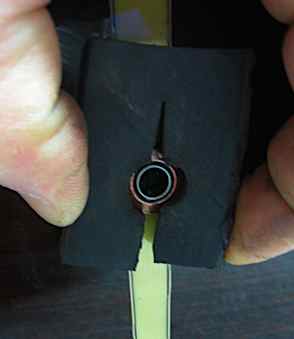
Finger tightened strap button ends that are chronically coming loose are
another common problem. The other side of that would be buttons
marred with plier marks, or even worse, Loctite or super glue. A simple
non-marking wrench is easy to make. For this tool I just drilled a hole
and cut a slot in a piece of 1/2" rubber.
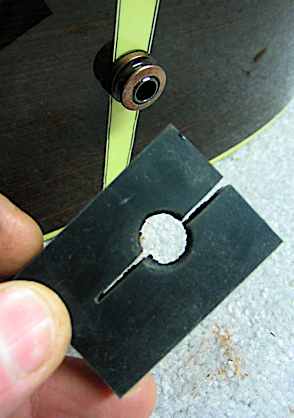
Here it is in use - pretty fancy engineering, eh?
Okay, enough time on jack philosophy. On to the saddle. Always flatten
the bottom of your saddles on a surface block, float glass, or something
reasonably flat, especially after you have sanded the bottom on a belt
sander. When a saddle is sanded aggresively the surface will heat and cup
away from that side, leaving the center bowed out to be sanded more
than the edges. After the saddle cools, mark the base with a pencil and
sand it lightly on a block.